Image Map
Showing posts with label DIY. Show all posts

Monday, April 6, 2015

My Easter In Photos


This Easter was a bit rough since it was the first holiday without my mom and she truly loved every holiday and always went all out. We made the best of it and managed to have a good day despite a big part of the holiday missing. Instead of giving you a written play by play I decided to share my day in photos.


Hope you had a fabulous holiday and enjoyed your time with family. xoxo

Sunday, March 22, 2015

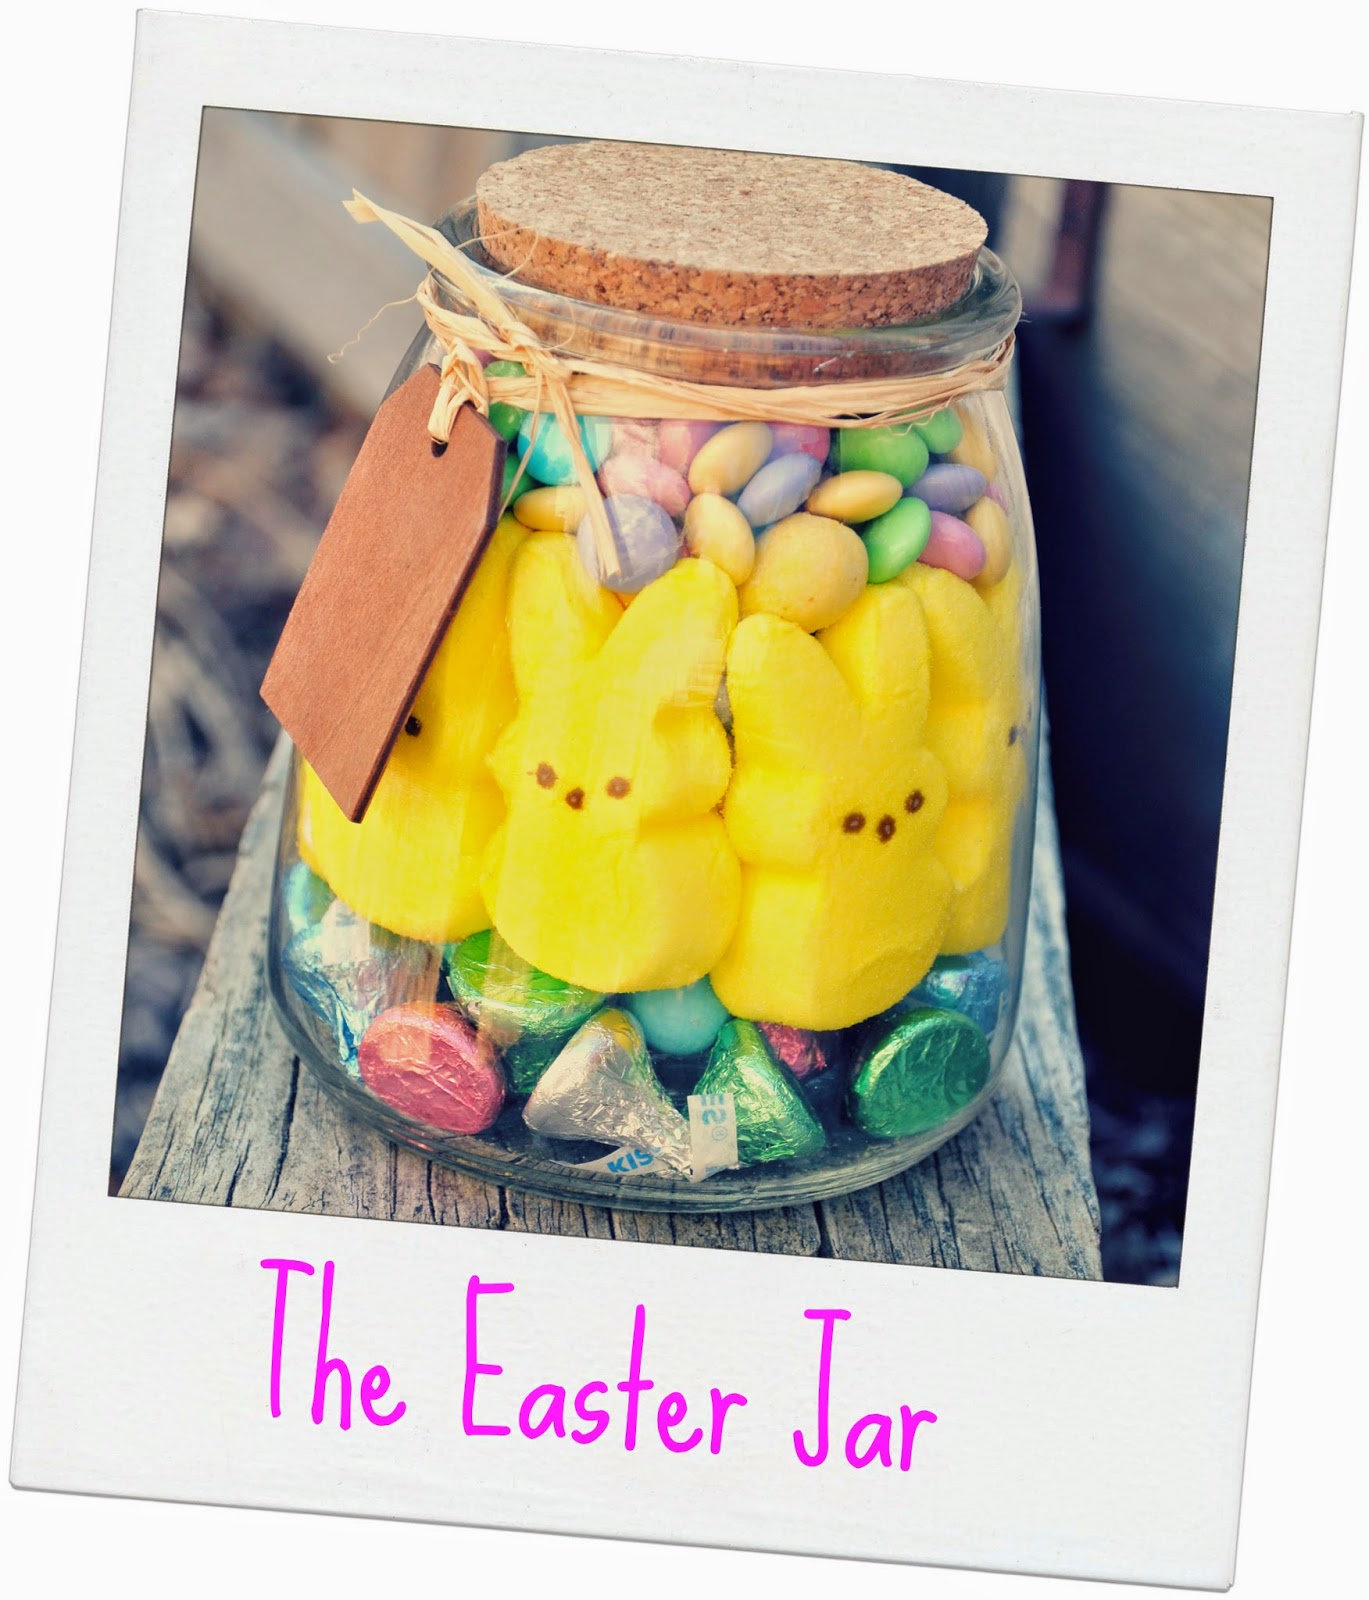
The Easter Jar


Every year I like to make some sort of Easter basket type thing for some family and friends. This year I decided I wanted to do something a little different. I found these adorable chubby jars in the Target dollar spot for $3 each and they inspired me to make Easter Jars. So I grabbed as many of the jars as I could and picked up some of my favorite Easter candies.


I put the kisses on the bottom and arranged the peeps around the perimeter. I continued to fill the jar with the rest of the candy from largest at the bottom to smallest at the top. This was incredibly easy and I am in love with how it looks. Hope everyone enjoys their treats this year!!


Tuesday, February 3, 2015

Creative Alternative To Wrapping


Does anyone else suck at wrapping presents? I am the worst. They never look nice and neat. I really don't know where I go wrong. When my sister came over with these birthday gifts for my daughter over the weekend I thought it was genius!

Simple white boxes, colored construction paper, a Sharpie and some glue is all that is needed to create these unique and fun boxes. My daughter and all our guests loved them. My sister definitely inspired me to try something like this instead of ruining gifts with sloppy wrapping.


Well I hope these photos inspired you with the possibilities of creating some characters out of gift boxes. Happy gifting!! xoxo

Friday, January 23, 2015

DIY: Valentine's Day Wreath


I have a super easy Valentine's DIY project for you today.

1 - Gather your supplies.
You will need tulle in colors desired, a foam wreath, some sort of festive garland and of course scissors.


2- Cut your tulle.
Cut a large pile of tulle. I cut mine in 12" strips.


3- Tie tulle around wreath.
I just tied the tulle around the wreath in simple double knots and kept the "poof" to the outside. Continue until entire wreath is covered.


4- Add your garland.
You will notice the garland I added is different than one in supply photo because unfortunately the original garland I got wouldn't lay right so I thought this was a cute substitute. I simply tucked the garland under the tulle tied around the wreath on the back side. And most craft stores have an array of festive garlands for you to choose.


5- Tie loop for hanging.
I took a longer piece of tulle and simply tied it at top leaving a big loop for hanging. And voila! You are finished.


This project can be replicated for any holiday with some color changes. Hope you enjoy! xoxo

Sunday, July 13, 2014

DIY: Seed Bead Wrap Bracelet


If you are like me and love a Boho jewelry style, boy do I have a treat for you. I am going to show you how easy it is to make your own seed bead wrap bracelet.

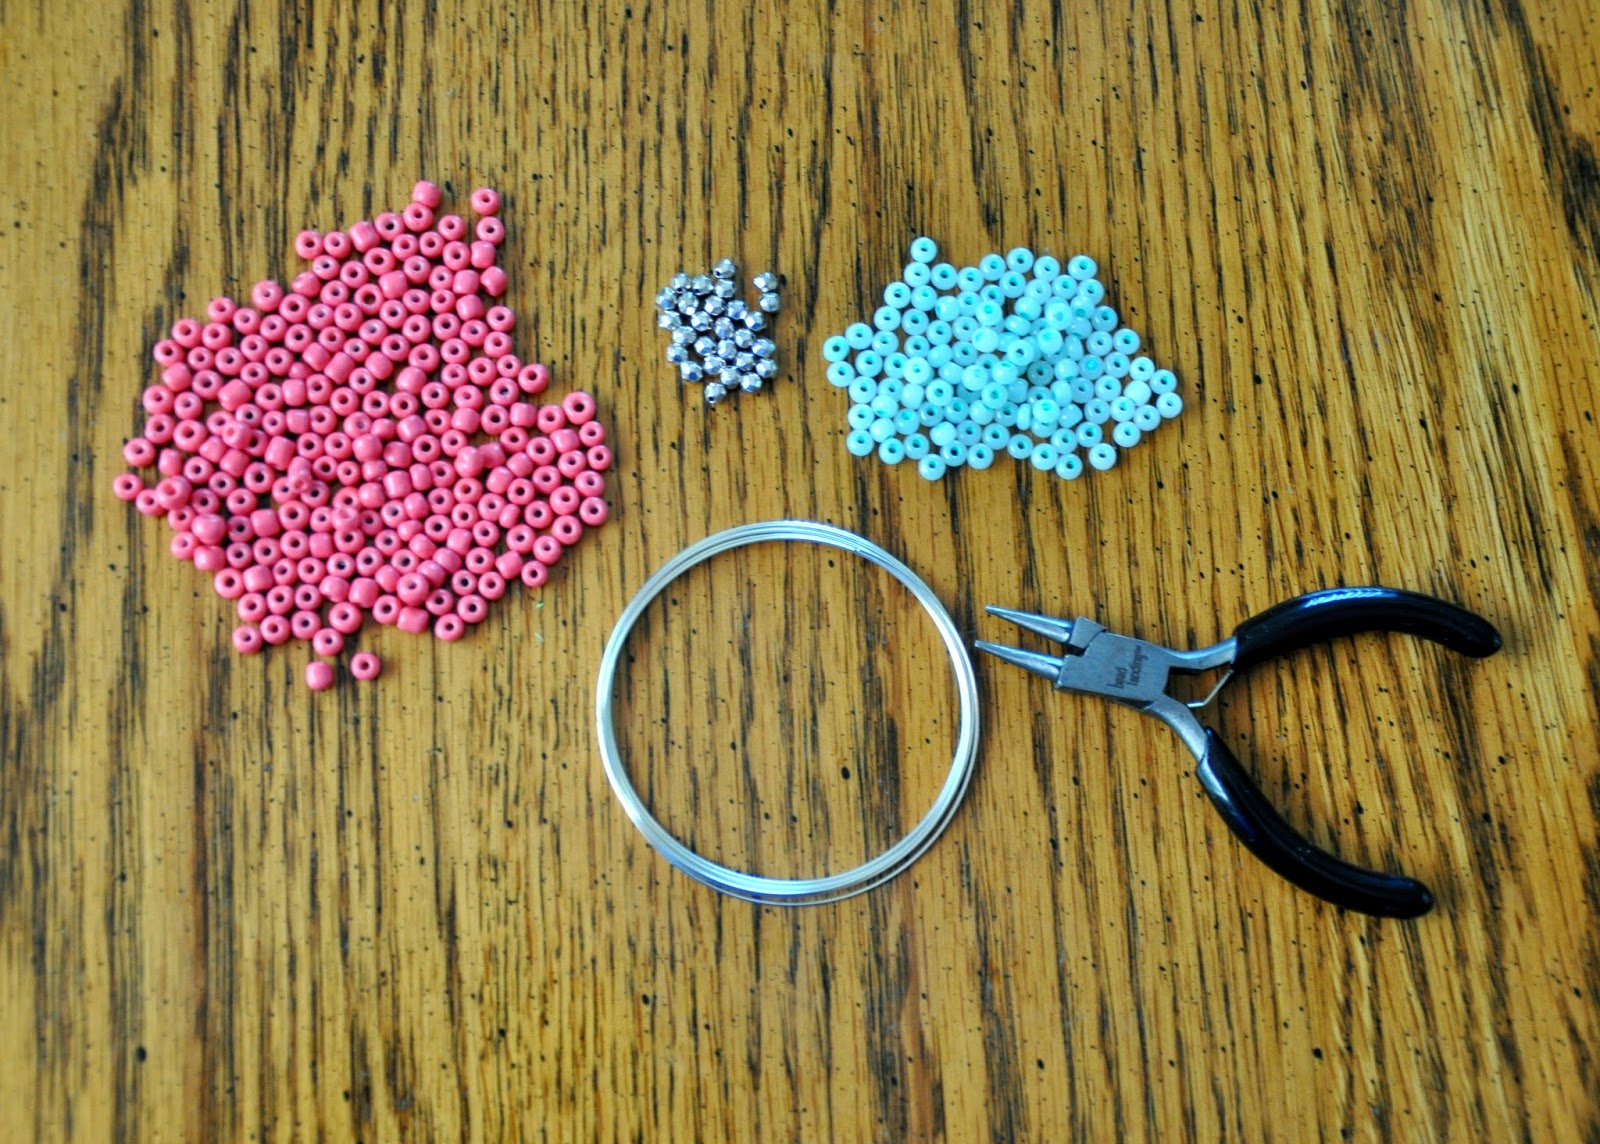
First you will need to gather your supplies. Decide the color theme and pattern you want for your bracelet and get appropriate beads. You will also need memory wire (I used Beadalon .025 in., round, large bracelet) . Finally you will need round nose pliers.


You will need to decide how many times you want your bracelet to wrap around and cut wire appropriately. Then use the round nose pliers to round the wire at one end.


Now you will start stringing your beads on the wire.


Once you get a decent amount of beads on wire you can push them along to the circle you made at other end of wire.


Keep beading until you have just a little bit of wire left.


Make a circle out the left over wire like you did to start.


Voila! You have a super cool, super hip bracelet to rock!! And if you aren't into making your own accessories you are in luck! This bracelet and others like it are available in my shop: Hole In Her Stocking Designs. And to make things even better I am offering 20% OFF all jewelry in my shop with coupon code: ARMCANDY.


Thursday, December 5, 2013

DIY: Tulle Christmas Tree


This is a fabulous, fun and easy project to do this holiday season. Not to mention, you will have a decoration to use again and again or give it as a fantastic homemade gift.

Supplies needed:
- green tulle (I recommend at least two shades)
-wood dowel and wooden base (cut dowel to desired height for tree)
-hot glue gun
-glitter spray (found fabulous spray at the Dollar Tree)
-bows (also got these at Dollar Tree)

I choose three shades of tulle and this photo was taken before I decided to add glitter spray & bows


1 - Have someone handy drill a hole in for the dowel. Had to have my hubby do this. Fill hole half way with hot glue and insert dowel. Add more hot glue around base where dowel meets base. (Please note: I tried to glue dowel to base without hole initially and it kept falling over even after glue was dry. So hole is necessary.)


2 - Cut tulle into strips. You need to make several different sizes so your tree tapers to top. I would make about 8-10 strips in each size. I did about 50% of strips in forest green and 25% in kelly green and 25% in lime green. I would make strips about 1" or so in size difference.

3 - Start tying tulle around dowle. Use slip knots. To do this fold tulle strip in half, put folded end around dowle and pull other ends through to make a slip knot.


4 - Keep tying the tulle until you get to the top. Strategically place tulle around the dowle so your tree is even and full all the way around the base.


5- Once the tree is complete it's time to embellish!! I added glitter spray. Make sure you hold spray at a distance and do one light coat so it doesn't weight tulle down. Once dry do a second coat. Then add bows if desired. Tie gently on select tulle strips.


Voila!

I hope you enjoyed this tutorial and get to make yourself a tree this season!!!!